Overview - How to set up your Integrations with Mili
Last updated: February 18, 2026
How to Set Up Integrations with Mili
Setting up integrations with Mili is quick and easy, allowing you to streamline your workflow and connect with various tools. Follow the steps below to integrate your calendar and CRM with Mili:
Open Mili and Access the Integrations Tab
After logging into Mili, locate the Integrations tab on the left-hand side panel. Click on it to open the integrations window.
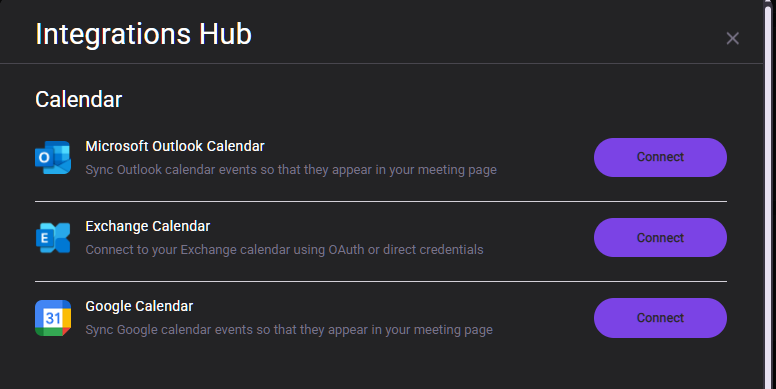
Connect Your Calendar
Mili supports multiple calendar integrations to help you stay on top of your meetings. To connect your calendar:
In the integrations window, look for the Calendar Integrations section.
Choose the calendar service you use and click the Connect button.
A new window will prompt you to log in to your calendar account.
After logging in, grant the necessary permissions, and Mili will sync your meetings with your calendar.
Connect Your Email
Connecting your emails allows Mili to compose and send emails to the clients.
Select the respective email platform you are using and click on Connect.
Login using your email credentials and then your email is connected with Mili.

Connect Your CRM
The next section is for CRM integrations. Mili supports a variety of CRMs, and the list will be tailored to your specific CRM.
In the CRM section, locate your CRM and click the Connect button next to it.
A window will open asking you to log in with your CRM credentials.
Once logged in, allow the necessary permissions, and Mili will integrate directly with your CRM. This enables a two-way sync, allowing you to seamlessly push and pull data between Mili and your CRM.

Enjoy Seamless Integration
After completing these steps, your calendar and CRM will be fully integrated with Mili, allowing for smoother data syncing and enhanced productivity.